Nursing Pillow Cover Sewing Pattern Video Tutorial
I have made a video tutorial on how to sew the Nursing Pillow Cover Digital Sewing Pattern, which also includes the zipper installation.

I have made a video tutorial on how to sew the Nursing Pillow Cover Digital Sewing Pattern, which also includes the zipper installation.

We have come to the last post for the sew-along. Now we only have to sew the backpack front and sides to the back. This step is harder mainly because you are working with more layers. If you trimmed 1/2″ around the padding then this will be easier, however, you still have straps to sew …
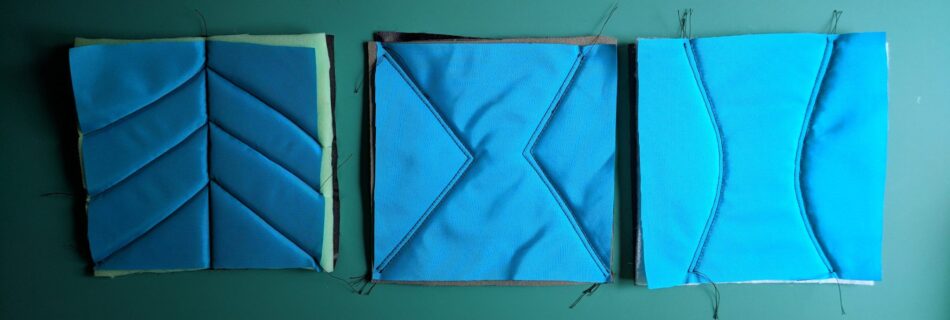
We are almost done with our backpack. Sewing the back layers together can be cumbersome, especially when using thick padding. I recommend using some kind of adhesive to hold all the layers together while you top-stitch the back piece. The top-stitching design I included in the pattern is nice, but you can use many other …
Read more “Backpack Sew-along #10: Assembling the Back and Top-stitching Variations”
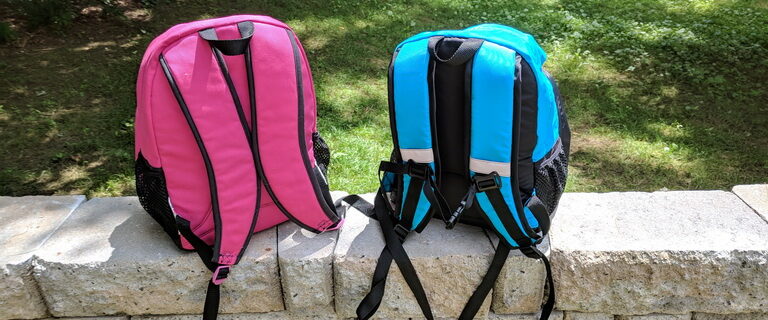
The straps are probably one of the more complicated construction aspects of this backpack. You are going to want some nice padding in the straps if you plan on carrying a lot of weight and don’t want sore shoulders. The high-density foam is really nice in the straps and you don’t need to sew it, …
Read more “Backpack Sewalong #9: Assembling the Straps and Variations”
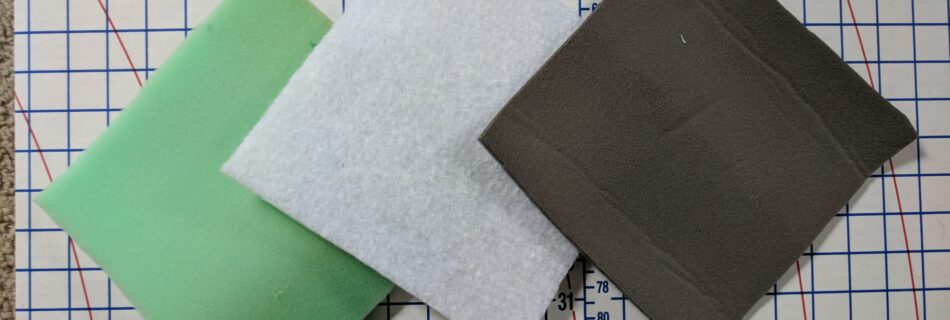
There are several different materials that can be used for padding your backpack back and shoulder pieces. This week I will be showing the difference between three different padding materials: 1/2″ high-density foam, 1/2″ NuFoam, and 1/4″ headliner. I recommend that you test-sew your padding with the fabric and thread you will be using. Practice …

Sewing on the sides of the backpack is probably the most difficult part of the backpack. You are sewing a straight edge loop to a curved flat piece. I start by using clips to hold together layers at notches and marking. I don’t clip the layers together anywhere else. Starting at the center bottom I …
Read more “Backpack Sew-along #7: Assembling Front and Sides Together”
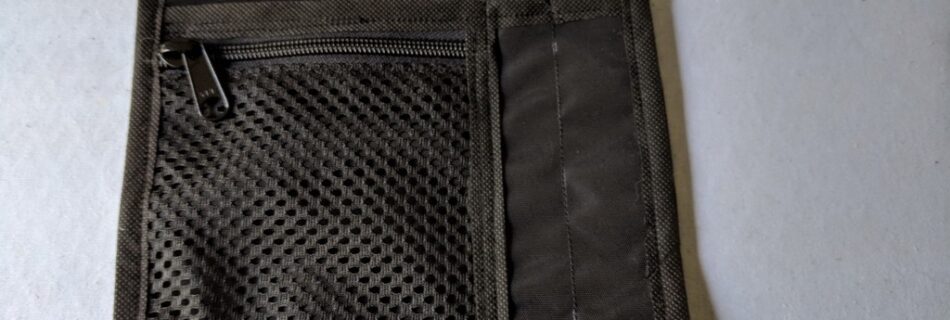
The pocket organizer that is included in the pattern looks like the one pictured above. If you make a mistake putting the zipper pocket mesh down then it would look like this: You only end up with two pencil holders instead of 3. But that is not the only design you need to use. You …
Read more “Backpack Sew-along #6: Pocket Organizer and Variations”

As I mentioned on day 1, making your own bias binding will give your backpack a more professional look. If you are making your backpack with a packcloth, I recommend using Oly*fun to make bias binding for the interior of the bag. If you are using duck, then store-bought double-fold bias tape will work just …

The Pocket Front consists of 3 pieces: 2 Pocket Front Sides and 1 Pocket Front Middle. Before you sew these together you should take into account any variations you might want to try. I covered some variants in my last post, which included adding a pocket and different ways to color block. Some other changes …
Read more “Backpack Sew-along #3: Assembling Pocket Front and Variations”