I find that using zipper by the yard is easier than pre-sized zippers. Finding a zipper that is 28″ and has two zipper sliders meeting in the middle is difficult. Most of the 28″ dual slide zippers are made for coats so the zipper slider is on opposite ends, which doesn’t work for a backpack. You could install a zipper with one slider but then when the bag is closed the pull will be near the bottom of the bag on one side making it hard to find.
If you prefer a 2 sliders zipper then I recommend buying a zipper by the yard. It is easier to sew and you have more selection over zipper types. I bought my zipper from Rockywoods. I used a #5 nylon coil YKK zipper with a #5 YKK metal slider with a single pull for coil zippers. You want to make sure your sliders are the same size as the zipper otherwise the pull will either not go on (too small) or will not zip the teeth together (too big). Above is a video on how to sew the zipper on and how to put it on the slider.
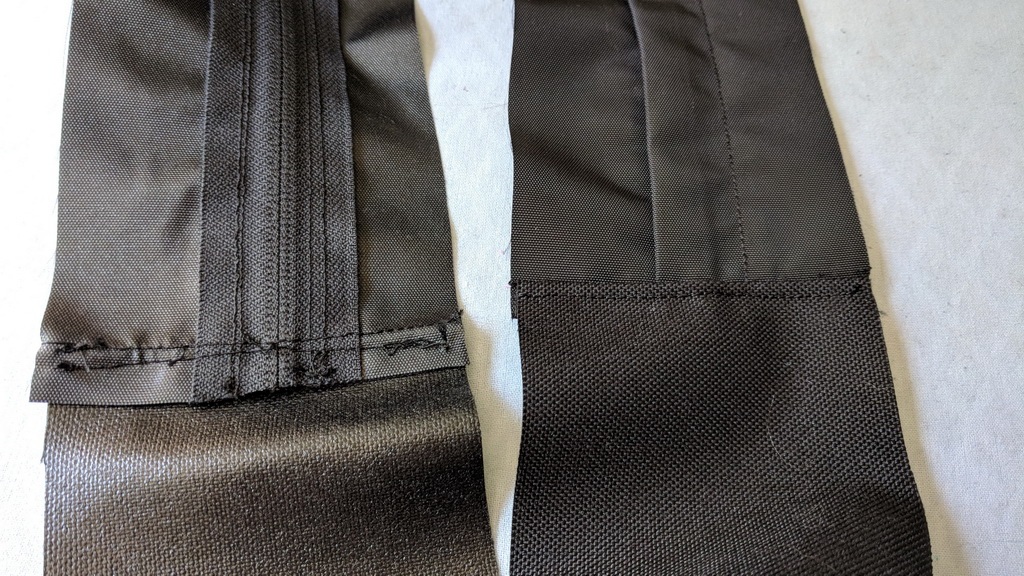
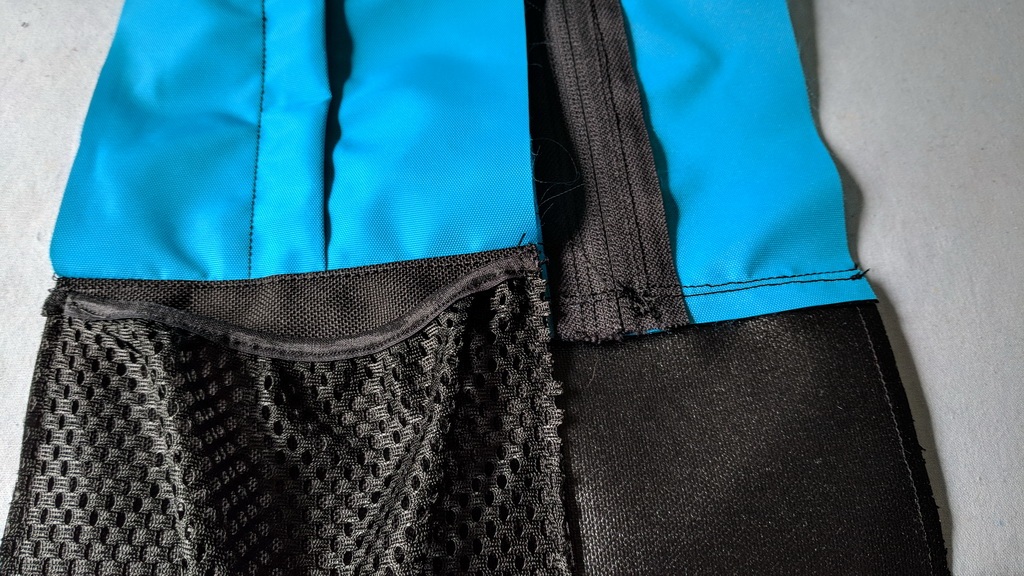
When attaching the bottom to the sides, after installing zippers and sliders, you may find the sides are wider than the bottom. If that happens, line the zipper with the center of the bottom. You could also have the zipper more forward (trimming more from the side without a lap), but I don’t recommend having it towards the back (trimming more of the side with a lap). In the pictures below the zipper is centered.
When you stitch the bottom to the top, go slow! I had no problems stitching over the nylon coil zipper, but I still would not stitch fast over it. If you are using a metal zipper you will want to go real slow, possibly even turning the wheel on your machine by hand. You will be stitching over each end of the zipper 3 times: first stitching the seam together, second finishing the seam with binding (a step I forgot in the pictures below!), and third top-stitching the seam downwards.
TIP: When stitching the second end, make sure you have not twisted the sides or bottom. You need a nice untwisted loop.


