
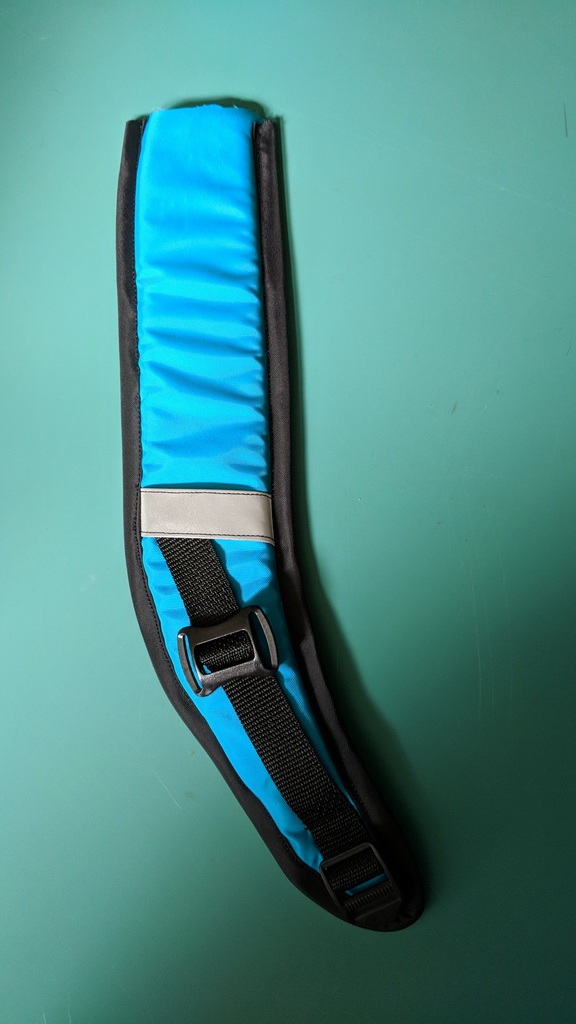
The straps are probably one of the more complicated construction aspects of this backpack. You are going to want some nice padding in the straps if you plan on carrying a lot of weight and don’t want sore shoulders. The high-density foam is really nice in the straps and you don’t need to sew it, so if your machine can’t sew through it you can still use it for the straps.
Start by cutting 1/2″ around all edges of the foam to remove the seam allowance. You will want to use a spray adhesive or glue stick to adhere the foam to the strap, so it will stay in place while you sew. You may also want to use your zipper foot while binding the edges so that the foam doesn’t need to be under your foot. Otherwise, you follow the directions as normal.
Sternum Strap
A sternum strap on your straps can help distribute the weight across your chest instead of just on your shoulders. It is fairly easy to make.
Materials Needed
- 2 Sternum Slides
- 1/2″ – 3/4″ wide Webbing (about 5/8 yard)
- 1″ wide Webbing (1/2 yard)
- Buckle (same width as webbing)
- Seam Cover (I used reflective tape)
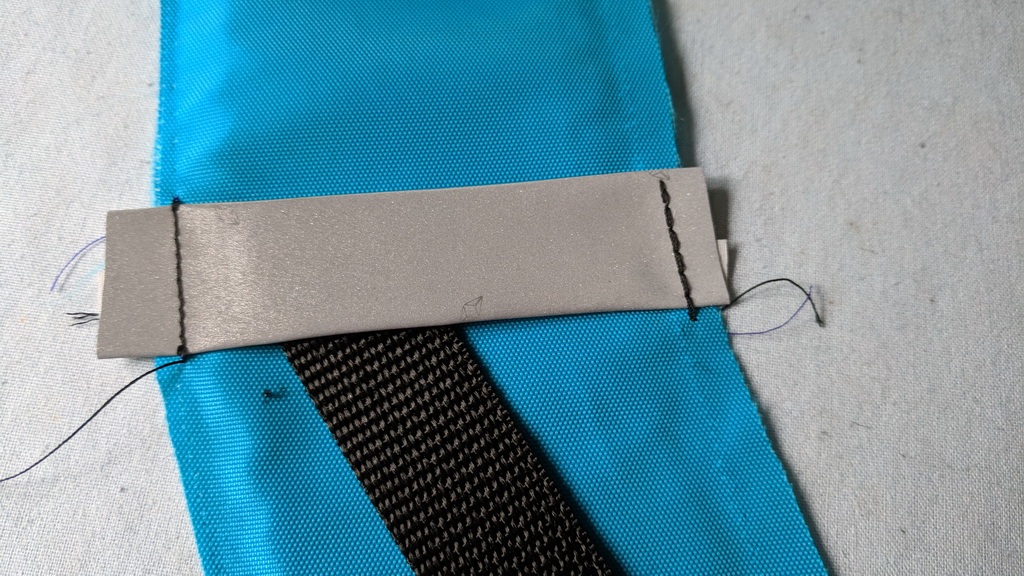
For the seam cover, you can use ribbon or fabrics. Finish any unfinished edges. It should be 1/2″ – 1″ wide. I took 2″ reflective tape and fold in the edges by 1/2″ and top-stitched it.
Instructions
1. Before you add the foam you will modify the pattern by rounding the corners at the bottom. Instead of folding back the bottom edge, we will bind the bottom with the sides. You will also need to round the foam.
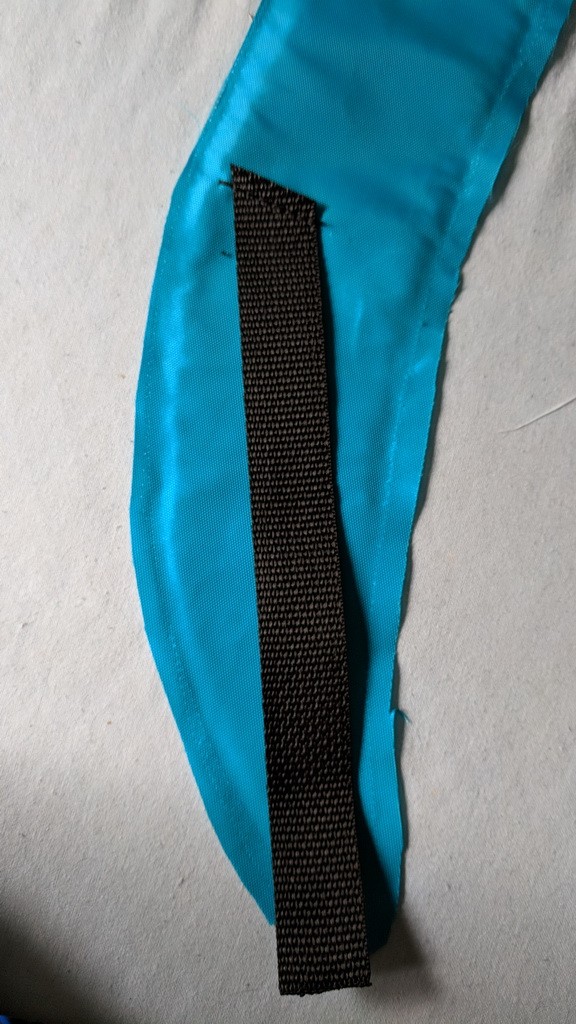
2. Cut 2 pieces of the 1″ webbing 9″-10″ long, and finish the edges. Mark a line across the front pieces of the strap just above the curve. Lay webbing along the strap from the line down towards the curved end of the strap, making sure the webbing is aligned with the angle of the strap. Stitch webbing down at the line.
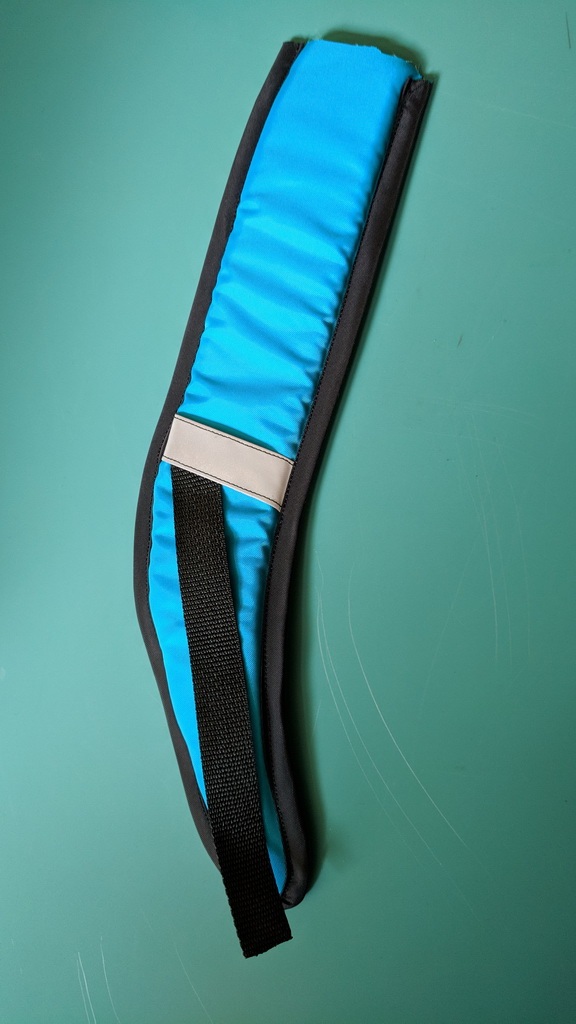
3. Sew the seam cover over the webbing edge that is sewn down. You can sew all edges or just the edges alongside the strap to create loops.
4. Now adhere to the foam and sew the strap back to the front. Bind edges as instructed except continue around the curve and up the other side.
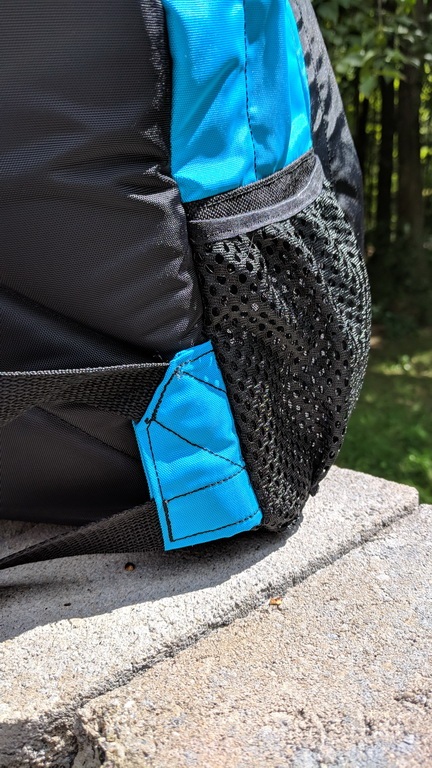
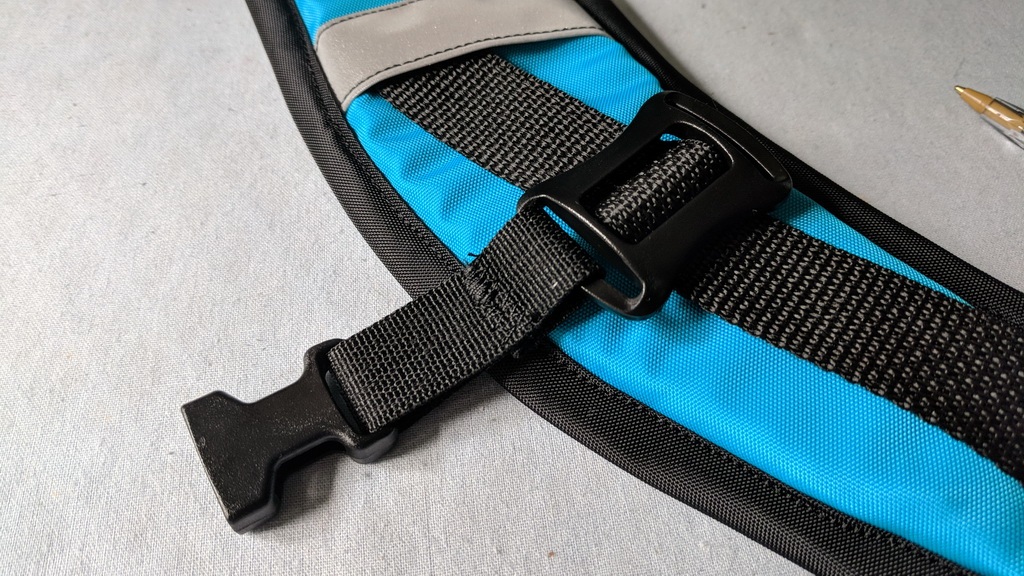
5. Slide on Sternum Slide making sure the side opening is facing towards the side of the strap that it isn’t curved towards. If you have a slide that has side openings on both sides then you don’t need to worry about this step.
6. Feed the end of the webbing through the strap adjuster. Fold the webbing edge behind the webbing and stitch through both layers of webbing and through the strap. Reinforce stitching by stitching another line.

7. Cut 5″ of the narrower webbing, finish edges, and feed one end through the buckle end that isn’t adjustable (usually the end the buckle goes into). Feed the other end through the side opening of the left sternum slide. Bring the cut edges together at the back, fold one end, and overlap it over the other end. Stitch through all layers.
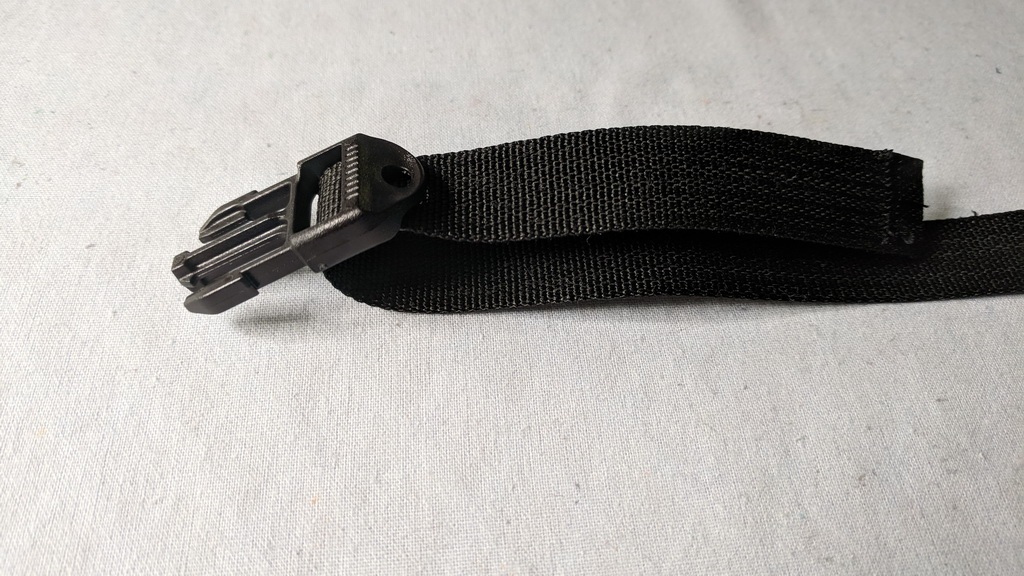
8. Cut another piece of the thinner webbing 15″ or the length you want to have to adjust the sternum strap. Finish one end by hemming about 1/2″. Feed the other end through the other buckle piece, so the folded end is behind the webbing. Feed the end through the sternum slide and stitch it down behind the webbing.

Waist Strap
A waist strap can help put more of the weight on your hips and less on your shoulders. With this pattern, the waist may not fall at the bottom of the backpack on adults.
Materials Needed
- 1″ – 1 1/2″ Webbing (2 yards)
- Buckle (same as webbing)
Instructions
1. You will need to cut out a different piece for the Strap Connector. You can download the pattern piece here. You will need to cut out two of them.

2. Skip over step 27 in the pattern instructions. Press in 1/4″ along all sides marked, mitering corners. Fold in half on the fold line and press.
3. Cut webbing in half. Finish one end of each and hem the other end. Feed finish end through buckles (both sides of the buckle should be adjustable) so that the hemmed edge is in front.

4. Place the finished end of the webbing in the fold of the Strap connector so that the hemmed end of the connector is along the webbing and the other edge is at the cut edge of the webbing. Stitch a box along the edge of the webbing inside the connector.
5. Complete step 28 in the pattern instructions. For step 29 take the end of the webbing and sandwich in the strap connector so that the webbing extends out of the angle hemmed edge of the connector. Stitch from the angled edge along the edge of the webbing through to the other ends of the connector as pictured. Top-stitch along all hemmed edges of the connector.

6. The connector gets sewn onto the backpack the same way as the original connector does, with folded edge downwards.