

The Pocket Front consists of 3 pieces: 2 Pocket Front Sides and 1 Pocket Front Middle. Before you sew these together you should take into account any variations you might want to try. I covered some variants in my last post, which included adding a pocket and different ways to color block. Some other changes you can make are adding embroidery or patches, adding bungee cords, sewing piping into seams and so much more.
Adding Embroidery or Patches
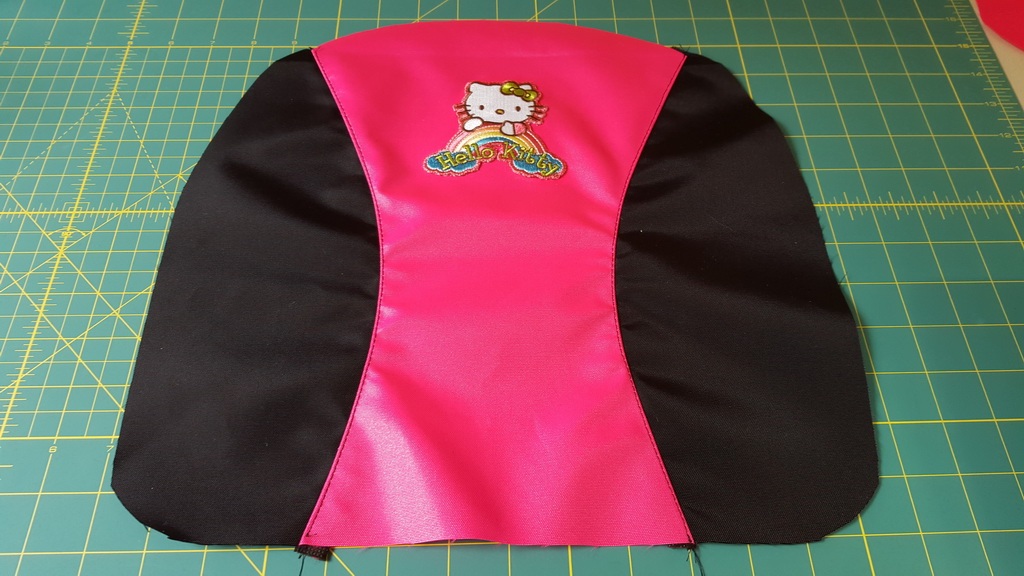
Before you start sewing you will want to add any embroidery or patches. I will not go into details on how to do this but you will want to consider how it will look on the inside and decide if you want to cover it up. I added both embroidery and a patch to my daughter’s backpack. I didn’t cover up the back of it but I did add an extra layer of fabric for reinforcement as seen above.
Adding Bungee Cords
I haven’t tried this but adding bungee cords crisscrossing over the Pocket Front Middle wouldn’t be too hard. You would need some thin webbing or heavy-duty ribbon to make loops which you would sew into the seam. Then you can lace the bungee cord through the loops.
Adding Piping
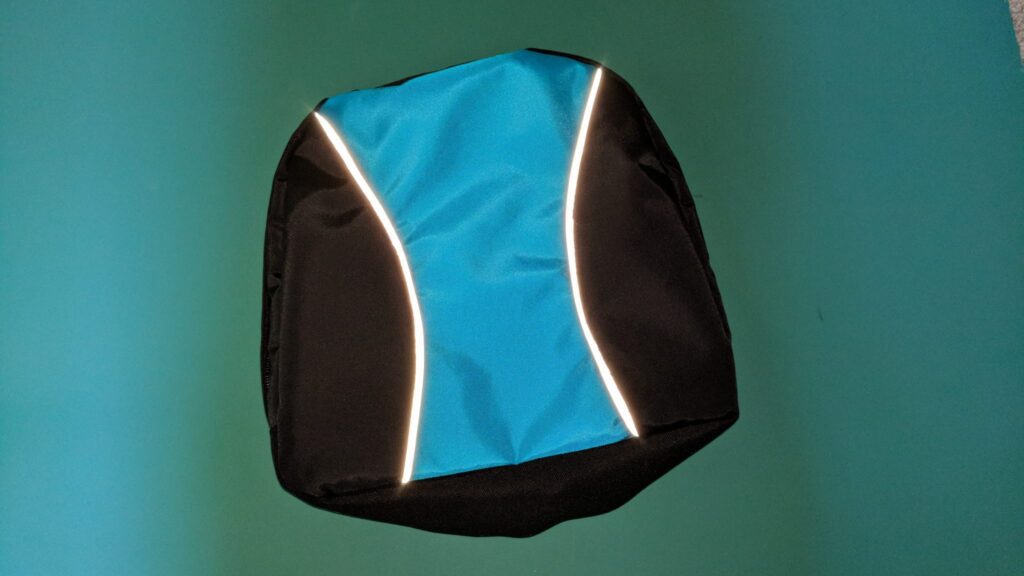
Another way to make your backpack stand out is to add piping. You can add it to almost any seam. I added light-reflecting piping to the pocket front seams, as seen below.
To sew the Pocket Front Sides to the Middle you sew the wrong sides together and raw edges even, matching notches. Clip curves. Sew bias binding over the seam edge. My next post in this sew-along will be about the bias binding.